
Why Is My Faucet Dripping? The Worn Part to Blame
A faucet that drips after you have firmly shut the handle is rarely a mystery, even when it feels like one. That steady tap-tap into the sink means a small internal part has worn to the point where it can no longer form a watertight seal against water pressure. The water is finding the tiniest gap, and it keeps finding it every second the supply line is charged. Which part has failed depends entirely on what kind of faucet you own, so identifying the faucet type is the first real step, not the last.
QUICK ANSWER: A dripping faucet means an internal sealing part has worn out. In compression faucets, it is usually the rubber washer or valve seat; in ball, cartridge, and ceramic-disc faucets, it is a worn cartridge, spring, O-ring, or seal. Shut the supply stops under the sink, take the handle apart, replace the worn part, clear any mineral scale, and reassemble. Corroded valves and leaks from the base of the faucet are a plumber's job.
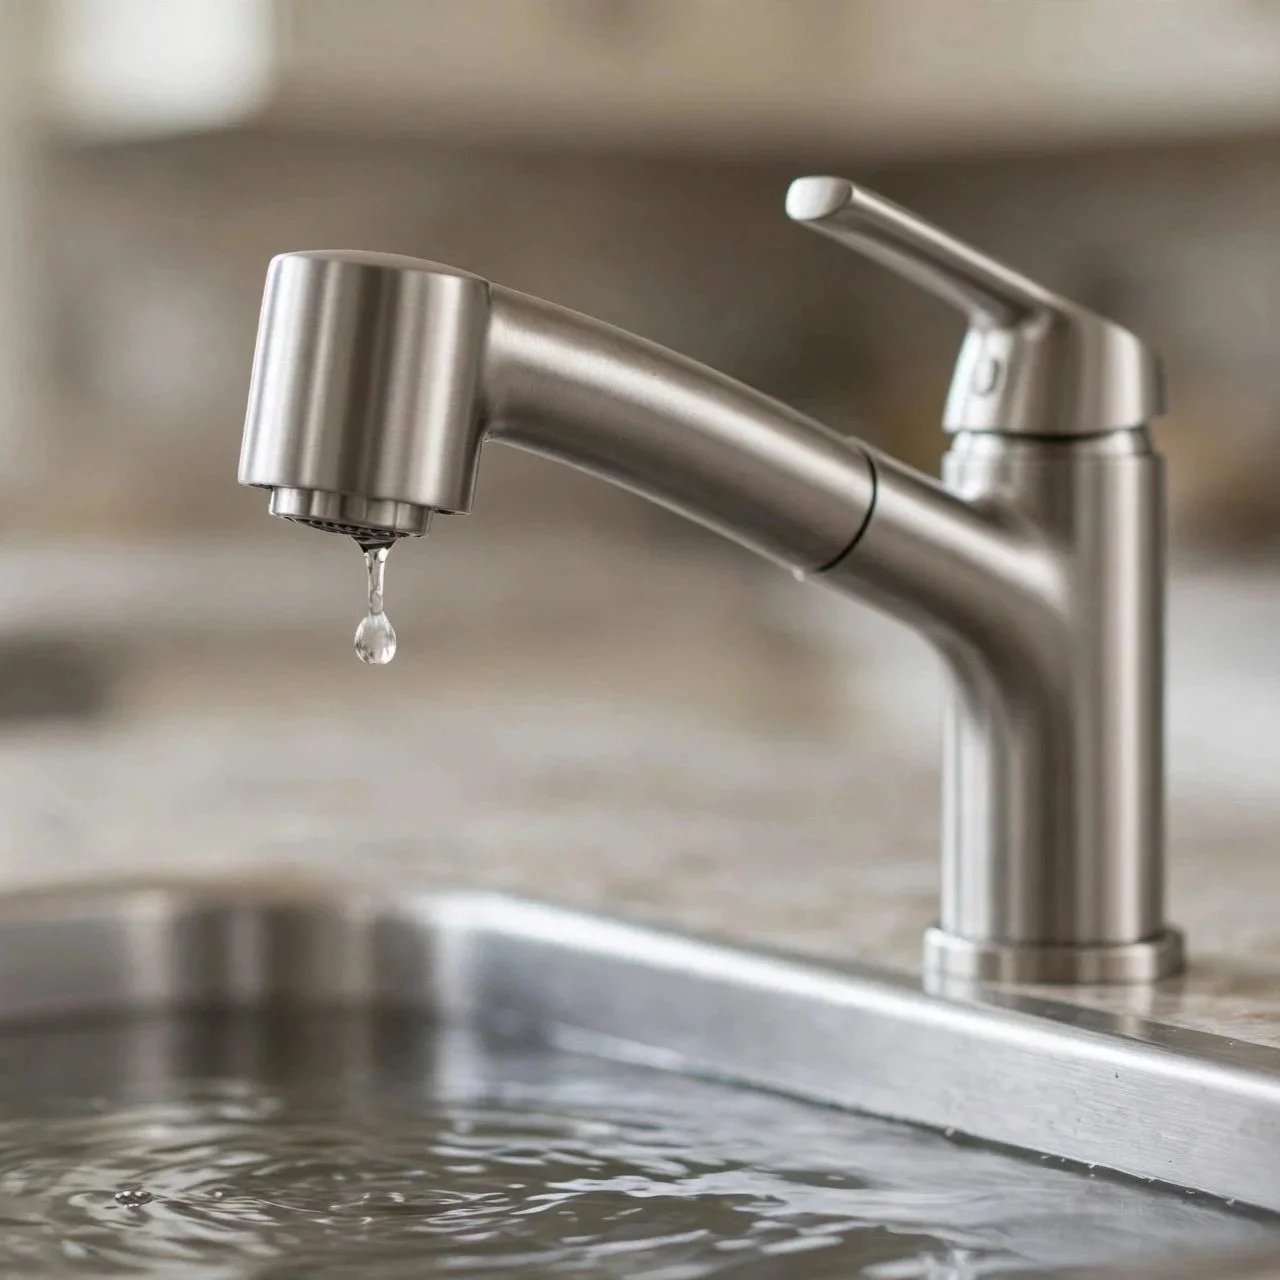
What a Drip Actually Means
Inside every faucet, one soft or precision-machined part does the work of stopping the flow when the handle is closed. A rubber washer presses against a metal seat, or a cartridge lines up its ports so no water passes, or two polished ceramic discs slide shut against each other. These parts live under constant pressure and move every time you use the tap. Over months and years, the sealing surface wears, hardens, cracks, or picks up mineral grit, and the once-perfect seal develops a gap you cannot see.
A worn seal behaves like the frayed gasket on an old thermos lid: the lid still closes and looks fine, but it no longer clamps tight enough to hold liquid, so a little always seeps past. A faucet drip is that same failure on a smaller scale and under real line pressure, which is why even a hairline gap produces a persistent drip rather than nothing at all.
Because the part that seals is different in each faucet design, guessing wastes time. Look at the handle first. One lever that moves in all directions points to a cartridge, ball, or disc valve. Two separate handles, one hot and one cold, usually means a compression or two-handle cartridge design. Knowing the type tells you which parts to buy before you open anything.
The Four Faucet Types and Their Weak Points
Nearly every home faucet falls into one of four families, and each fails in its own predictable way.
Compression faucets: The oldest design, with separate hot and cold handles you tighten down to stop the flow. Inside each handle, a rubber washer is screwed to the bottom of a stem and presses against a metal valve seat. That rubber washer is the first thing to wear, harden, or tear, and it is the single most common cause of a drip in these faucets. The brass valve seat it presses against can also corrode or pit, so a fresh washer alone sometimes will not hold.
Ball faucets: A single lever sitting on a rounded ball-shaped cap, common on older kitchen sinks. The ball rotates over a set of small rubber seats, each backed by a tiny spring. Those springs weaken, and the seats flatten, letting water leak past. A ball faucet also has a plastic or metal cam and packing under the cap that can wear. These have the most small parts of any type, so a matched repair kit is the sensible fix.
Cartridge faucets: A single or double handle where a removable cartridge slides up and down or rotates to control flow. The cartridge itself wears internally, and the O-rings around its body harden and crack, which shows up as a drip from the spout or a seep around the handle. Replacing the whole cartridge, rather than trying to rebuild it, is usually the cleaner repair, and cartridges are keyed to the brand and model.
Ceramic-disc faucets: A newer single-lever design with two ultra-hard ceramic discs that slide against each other to open and close. These are durable and often outlast the rest of the faucet, but the neoprene inlet seals underneath can wear or clog, and grit trapped between the discs can score them. When a disc faucet drips, worn inlet seals or a fouled disc cartridge are the usual suspects.
The Common Causes Across Every Type
Whatever the design, the reasons a seal fails tend to repeat:
A worn washer, O-ring, or cartridge: Rubber and neoprene do not last forever. Constant compression and water contact stiffen and split them, and once a sealing edge deforms, the drip begins.
A corroded or pitted valve seat: The metal surface a washer presses against can roughen from years of water flow and mineral action. A pitted seat will chew up a brand-new washer within weeks, so the seat itself sometimes needs dressing or replacement.
Mineral buildup: In areas with very hard water, dissolved minerals leave chalky scale on stems, seats, cartridges, and inside the aerator. That scale holds the sealing surfaces apart and speeds up wear. Clearing scale is often part of the repair, not a separate chore.
High water pressure: Pressure much above roughly 80 psi hammers on every seal and wears parts far faster than they should. If a faucet keeps dripping soon after a good repair, or several fixtures fail around the same time, high household pressure may be the underlying driver and is worth having checked and corrected.
A loose or worn packing nut or retaining part: Sometimes the seal is fine, but a nut has backed off, or a retaining clip has fatigued, letting a part shift out of position. Snugging or replacing that hardware can stop a leak, though over-tightening is its own hazard.
Why a Drip Is Worth Fixing Now
A single drip feels trivial, but it adds up. A faucet dripping once per second wastes thousands of gallons over a year, water you are paying for and doing nothing with. The steady trickle also leaves mineral and rust staining on porcelain and metal that is hard to scrub off later. And a drip rarely stays the same size. The gap that started it keeps widening as the worn part degrades and as running water erodes the seat, so a slow tap today tends to become a steady stream in a few months. Fixing it while it is small keeps the repair to a cheap part rather than a damaged valve body or a stained fixture.
How to Diagnose the Source
Before touching a tool, watch the faucet and narrow things down. On a two-handle faucet, feel whether the dripping water is warm or cold; that tells you whether the hot or the cold side has the worn part, so you can service just that handle. On a single-lever faucet, note whether the drip comes from the tip of the spout or seeps out around the base or under the handle. A spout drip points to the sealing part inside: a washer, cartridge, or disc. Water pooling at the base usually means a worn O-ring or a body seal, which is a different fix. Also check whether the aerator at the tip is caked with scale, since a clogged aerator can make a healthy faucet spit and look like it is leaking.
The General DIY Repair Flow
Most single-fixture repairs follow the same sequence regardless of type.
Shut off the water: Close the two supply stop valves under the sink, hot and cold. If there are none, or they will not fully close, shut off the main. Then open the faucet to bleed off pressure and confirm the water is truly off. Skipping this step invites a spray or a small flood the moment you loosen a part.
Tip: Before you take the faucet apart, drop in the stopper or lay a rag over the drain opening so a dropped screw, clip, or spring cannot vanish down the pipe.
Disassemble the handle: Pop off the decorative cap, remove the handle screw, and lift the handle. Work in order and set parts down in the sequence they came out so reassembly is obvious. Take a photo before each step if the stack of parts looks complicated.
Identify and replace the worn part: Pull the washer, cartridge, ball kit, or disc cartridge and match it against a replacement. Brand and model matter, so bringing the old part to the counter beats guessing. Replace the seal, and inspect the valve seat or inlet seals while you are in there.
Clear mineral scale: Wipe or soak scaled parts to clear chalky buildup before the new seal goes in, since grit will wreck a fresh washer quickly. Rinse the aerator too.
Reassemble and test: Rebuild in reverse order and hand-tighten firmly without cranking. Over-tightening cracks cartridges and crushes new washers, which just starts a new leak. Reopen the supply stops slowly and run the faucet to check that the drip is gone and nothing seeps at the base.
Repair or Replace the Whole Faucet
Not every dripping faucet is worth rebuilding. A quality faucet with an available cartridge or washer kit is nearly always worth the small repair. But when the faucet is old, the body shows corrosion, replacement cartridges for that model are no longer made, the valve seats are badly pitted, the finish is already failing, or the spout wobbles, a new faucet is the better use of money and effort. If you have already replaced a washer or cartridge once and it drips again within a season, that recurring failure often signals a worn valve body or a pressure problem that a fresh part will not cure on its own.
When to Call a Plumber
Plenty of drips are a fair weekend fix, but some are not. Call a professional when a supply stop or valve is corroded or seized and will not turn, since forcing it can snap the valve and turn a drip into an open leak. Call when water is coming from the base of the faucet rather than the spout, when a repaired faucet keeps dripping despite fresh parts, or when the fixture is old enough that parts are hard to source and disassembly risks cracking a brittle body. Recurring drips across several fixtures point to a whole-house pressure issue that needs proper diagnosis. A plumber has the seat-dressing tools, the pressure gauge, and the model knowledge to fix the cause rather than the symptom.
Frequently Asked Questions
Yes. A faucet leaking at one drip per second wastes on the order of 3,000 gallons over a year, and a thin steady stream wastes far more. On a metered supply, that shows up as real money, and it also keeps a water heater cycling if the leak is on the hot side, which quietly adds energy cost the body of a repair never mentions.
Household water pressure often rises when demand across the neighborhood drops, typically overnight. The higher static pressure pushes harder on a marginal seal that holds fine during busy daytime hours, so a faucet on the edge of failure will drip most when the system sits quiet. It is a useful clue that pressure, not just the washer, is part of the problem.
Inspect the seat with a fingertip or a flashlight after you pull the stem. If it feels smooth, a new washer is enough. If you feel a rough, pitted ridge, the seat is the culprit and will shred a new washer fast. A pitted seat can be resurfaced with a seat-dressing tool or, on many faucets, unscrewed and swapped with a seat wrench, a step most washer-only repairs skip.
It is a waterproof silicone grease made for potable-water fixtures. A light coat on O-rings and cartridge bodies helps them seat without tearing and keeps them from binding on the next repair. Ordinary petroleum grease is the wrong choice because it degrades rubber and neoprene seals over time, so use only silicone grease rated for plumbing.
Yes, in a way. A scale-clogged aerator does not drip on its own, but it makes the stream spit and splutter and can leave the spout dribbling for a few seconds after shut-off as trapped water clears. Unscrewing the aerator, soaking it to dissolve the scale, and rinsing it often cures a false alarm without any valve work at all.
Snug it until the drip around the stem stops, then stop turning. The packing nut only needs to compress the packing enough to seal, not to be wrenched down hard. Over-tightening it strips threads, crushes the packing, and can bind the stem, so hand-tight plus a small nudge with a wrench is the target, and you back off if the handle becomes stiff to turn.
Track that drip to its worn part, or let us find it fast — a quick fix now beats a stained sink and a rising bill later. Frontier Plumbing serves Las Vegas, Henderson, and Enterprise. NSCB #286781. Call (702) 602-6705.